

Bulk Upload Existing Mappings
Bulk Upload imports application and server mappings you already hold, typically from a CMDB. If you have an existing record of which servers belong to which applications, this is the fastest way to get that knowledge into Dr Migrate, and it primes the AI for everything that follows.
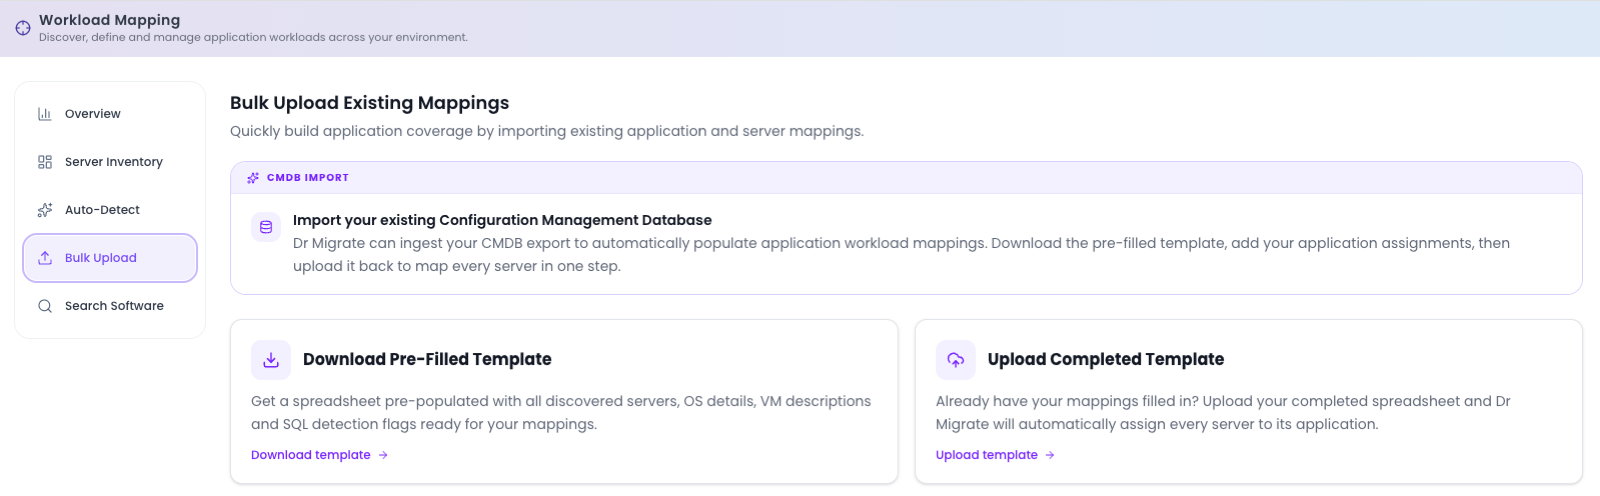
Two actions
The screen presents two actions (download, then upload):
| Action | What it does |
|---|---|
| Download Pre-Filled Template | A spreadsheet pre-populated with all discovered servers, plus OS details, VM descriptions and SQL detection flags, so you're never starting from a blank sheet. |
| Upload Completed Template | Once you've added your application assignments, upload it and Dr Migrate auto-assigns every server to its application in one step. |
The workflow
Download the pre-filled template
Click Download Pre-Filled Template. The spreadsheet already lists every discovered server with its OS details, VM description and SQL detection flags, so you only need to add the application each server belongs to.
Add your application assignments
Fill in the application name against each server you can account for. You don't need to map everything; even a partial sheet is valuable.
Upload the completed template
Click Upload Completed Template. Dr Migrate reads your assignments and maps every listed server to its application automatically.
Run Auto-Detect next
With real mappings in place, run Auto-Detect to close the remaining gaps, learning from what you uploaded.
Even 10% of the environment is a great first step. A partial bulk upload doesn't just map those servers; it gives the AI real-world examples that measurably improve the accuracy of Auto-Detect across the rest of the estate.
Bulk Upload uses the same data path as CMDB Import in Data Sources → Import. You can start from either place; the result is the same.
Next step
After uploading, run Auto-Detect to extend coverage, then refine in Server Inventory.